I bought a Mac Mini off of Craig’s List about a week ago. I use a Windows machine for work and run VMware WorkStation with a Windows 7 VM for all of my WordPress stuff. I love VMware, it makes setting up a specific development environment really simple. So why did I buy a Mac? Basically because I wanted one.
I had toyed around with a Hackintosh running under VMware about a year ago but it wasn’t very stable. It would work fine for a while then freeze up. I was reluctant to really try anything serious on it. Since I couldn’t justify the cost of a MacBook (Air or Pro), I started watching Craig’s List for deals on a Mac Mini. I figured with all of the accessories (monitors, mice, keyboards, cables, disk drives, etc.) I already have laying around, it would be the cheapest way to get one.
I picked up a 2010 Mac Mini with 120GB HDD and 4GB of RAM for $220. Based on the other Mac Minis I saw on Craig’s List, it seemed like a decent deal, I have no idea if it is or not. The guy I bought it from had used it as a Home Media PC. When I first booted it up, I noticed he had partitioned the disk into two 60GB partitions. I have no idea why he did this, maybe there is some benefit and my lack of Mac knowledge is coming through.
Since I want to do some home video editing and iPhoto work with it, I decided 120GB HDD isn’t going to cut it. I had a 7200 RPM 500GB WD Scorpio Black drive on my desk at work that wasn’t doing anything so I decided to “upgrade” my new Mac Mini. Yep, less than an hour after buying it, I started taking it apart. I figured it couldn’t be too hard. Well, it certainly is harder than upgrading the drive in a laptop!
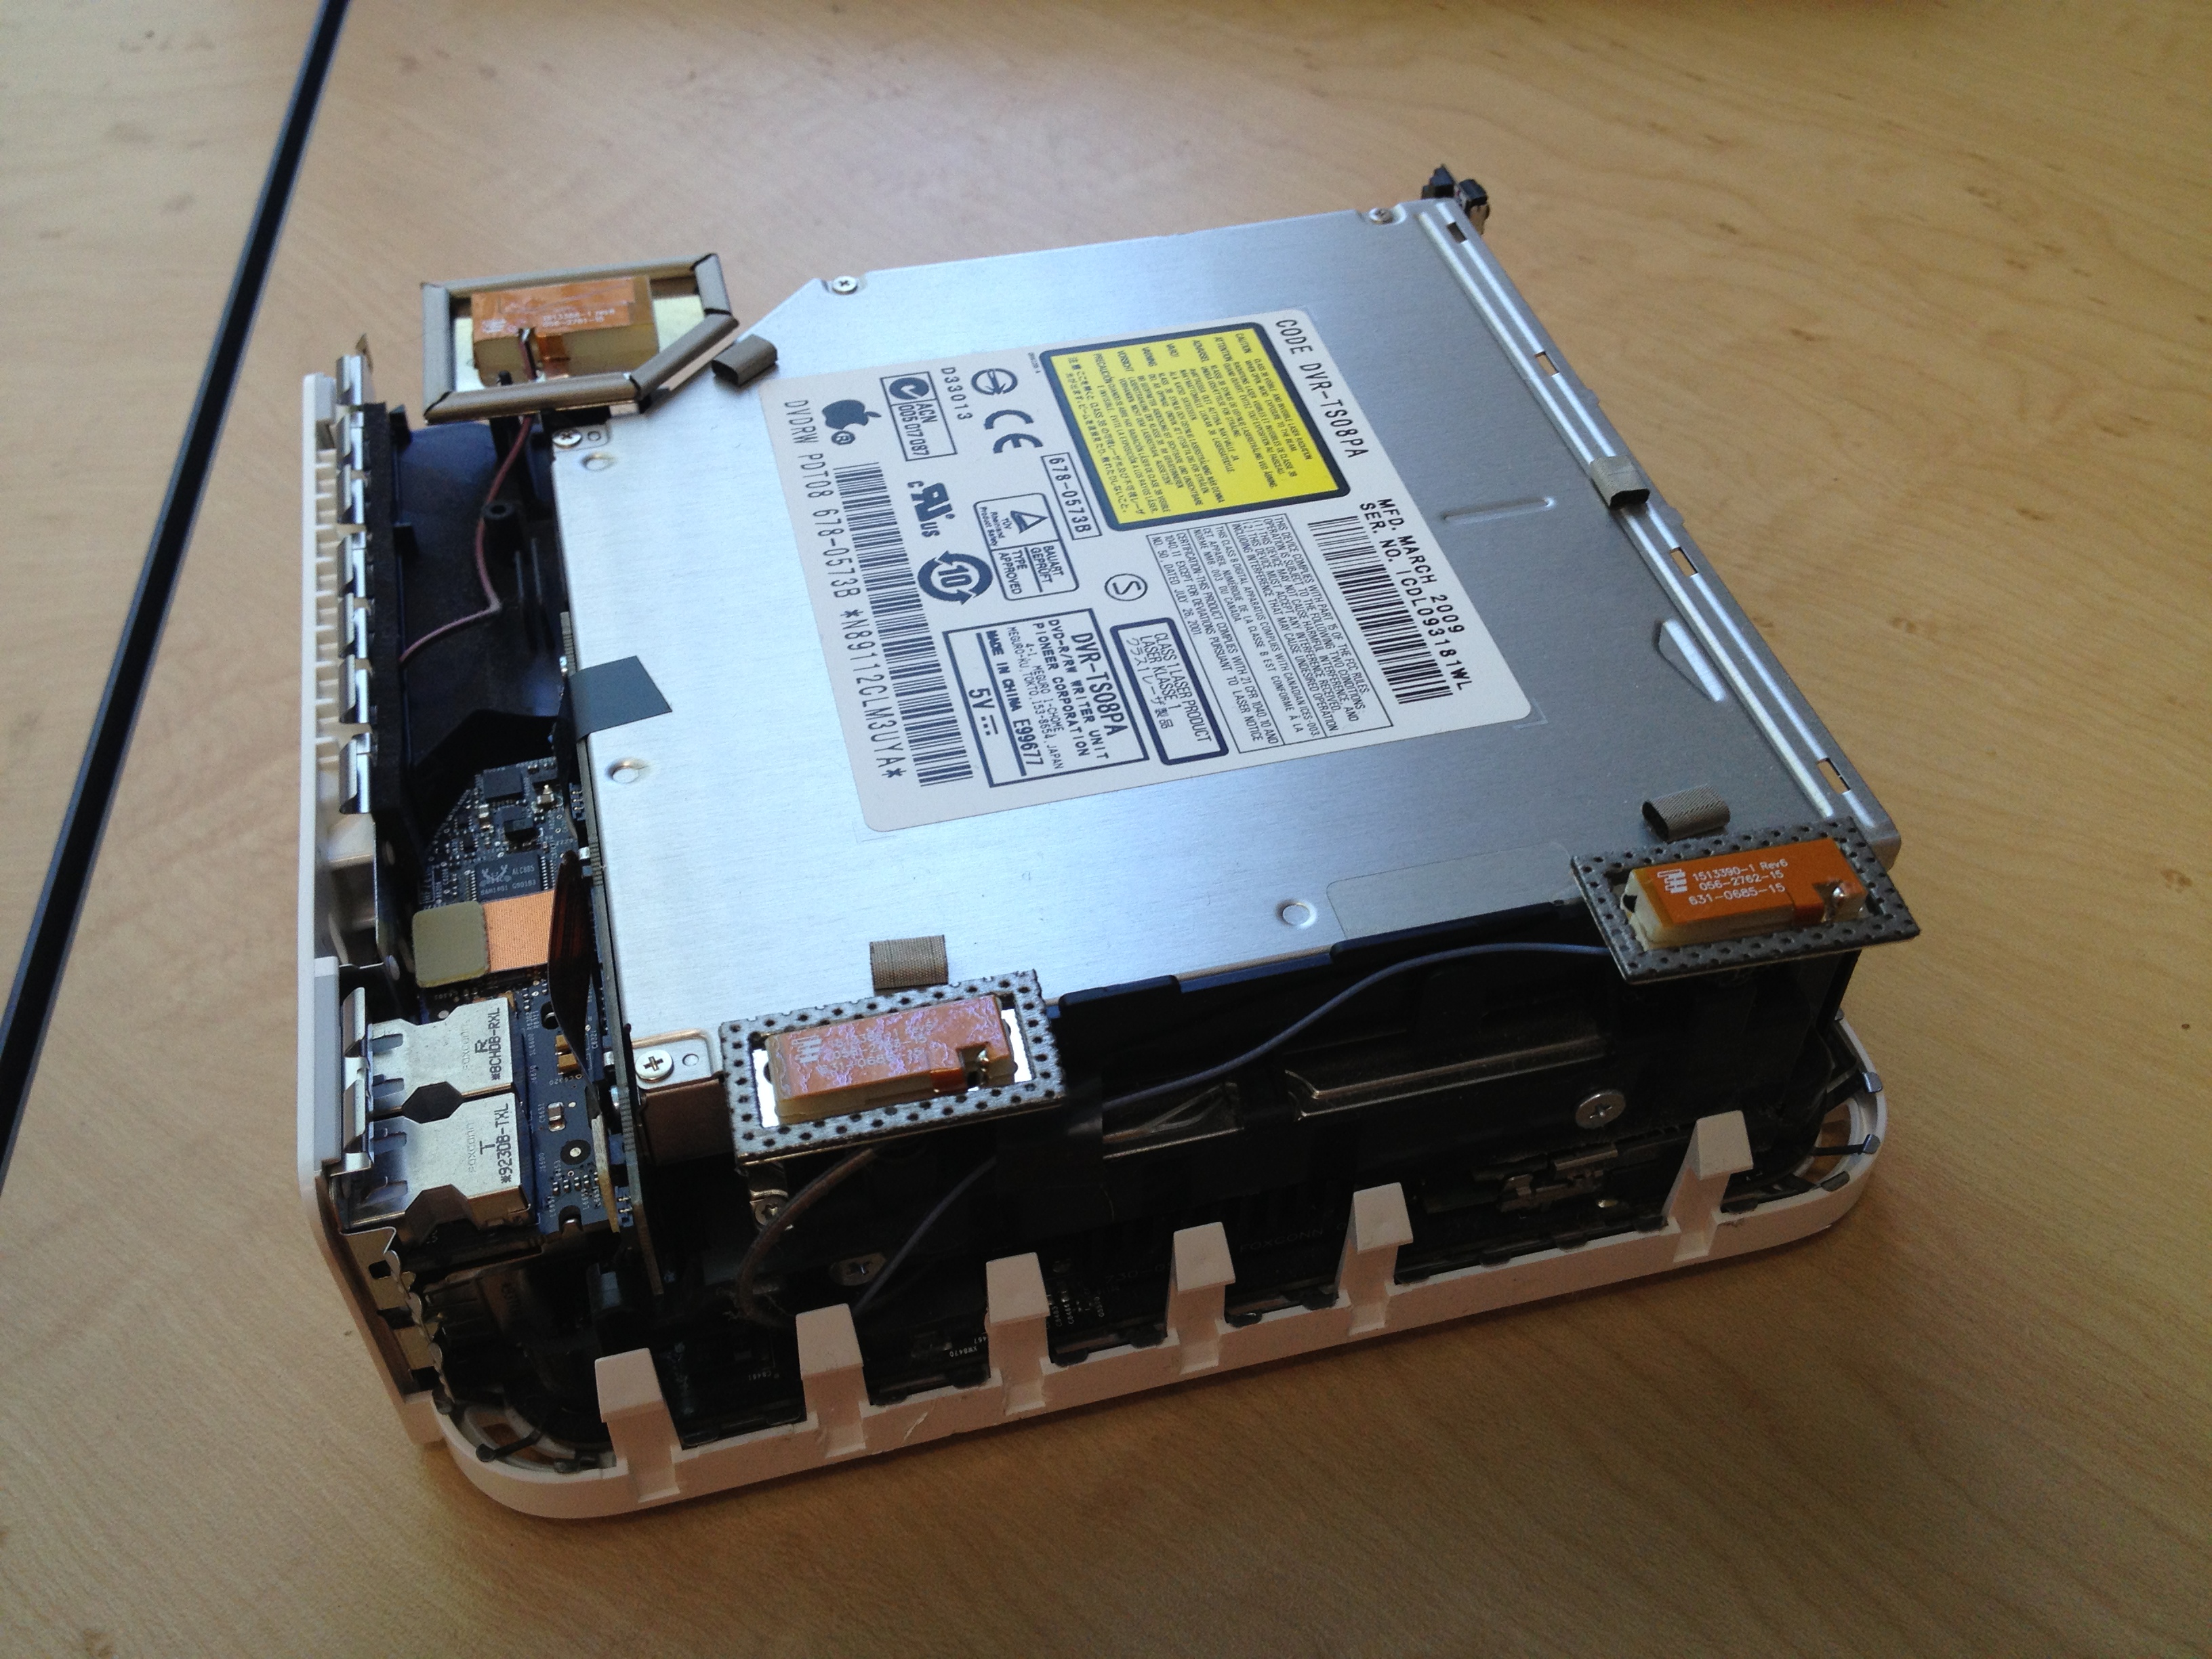
With lid removed.
I found a video on YouTube which explained the process pretty well. I watched it a couple of times and then decided to crack the Mini open. It took me a little while to get the case open as I didn’t have a paint scraper at work but I did have the razor blade from a box cutter. It worked pretty well. It certainly feels like the Mini will break when you open the case but eventually I got it apart.
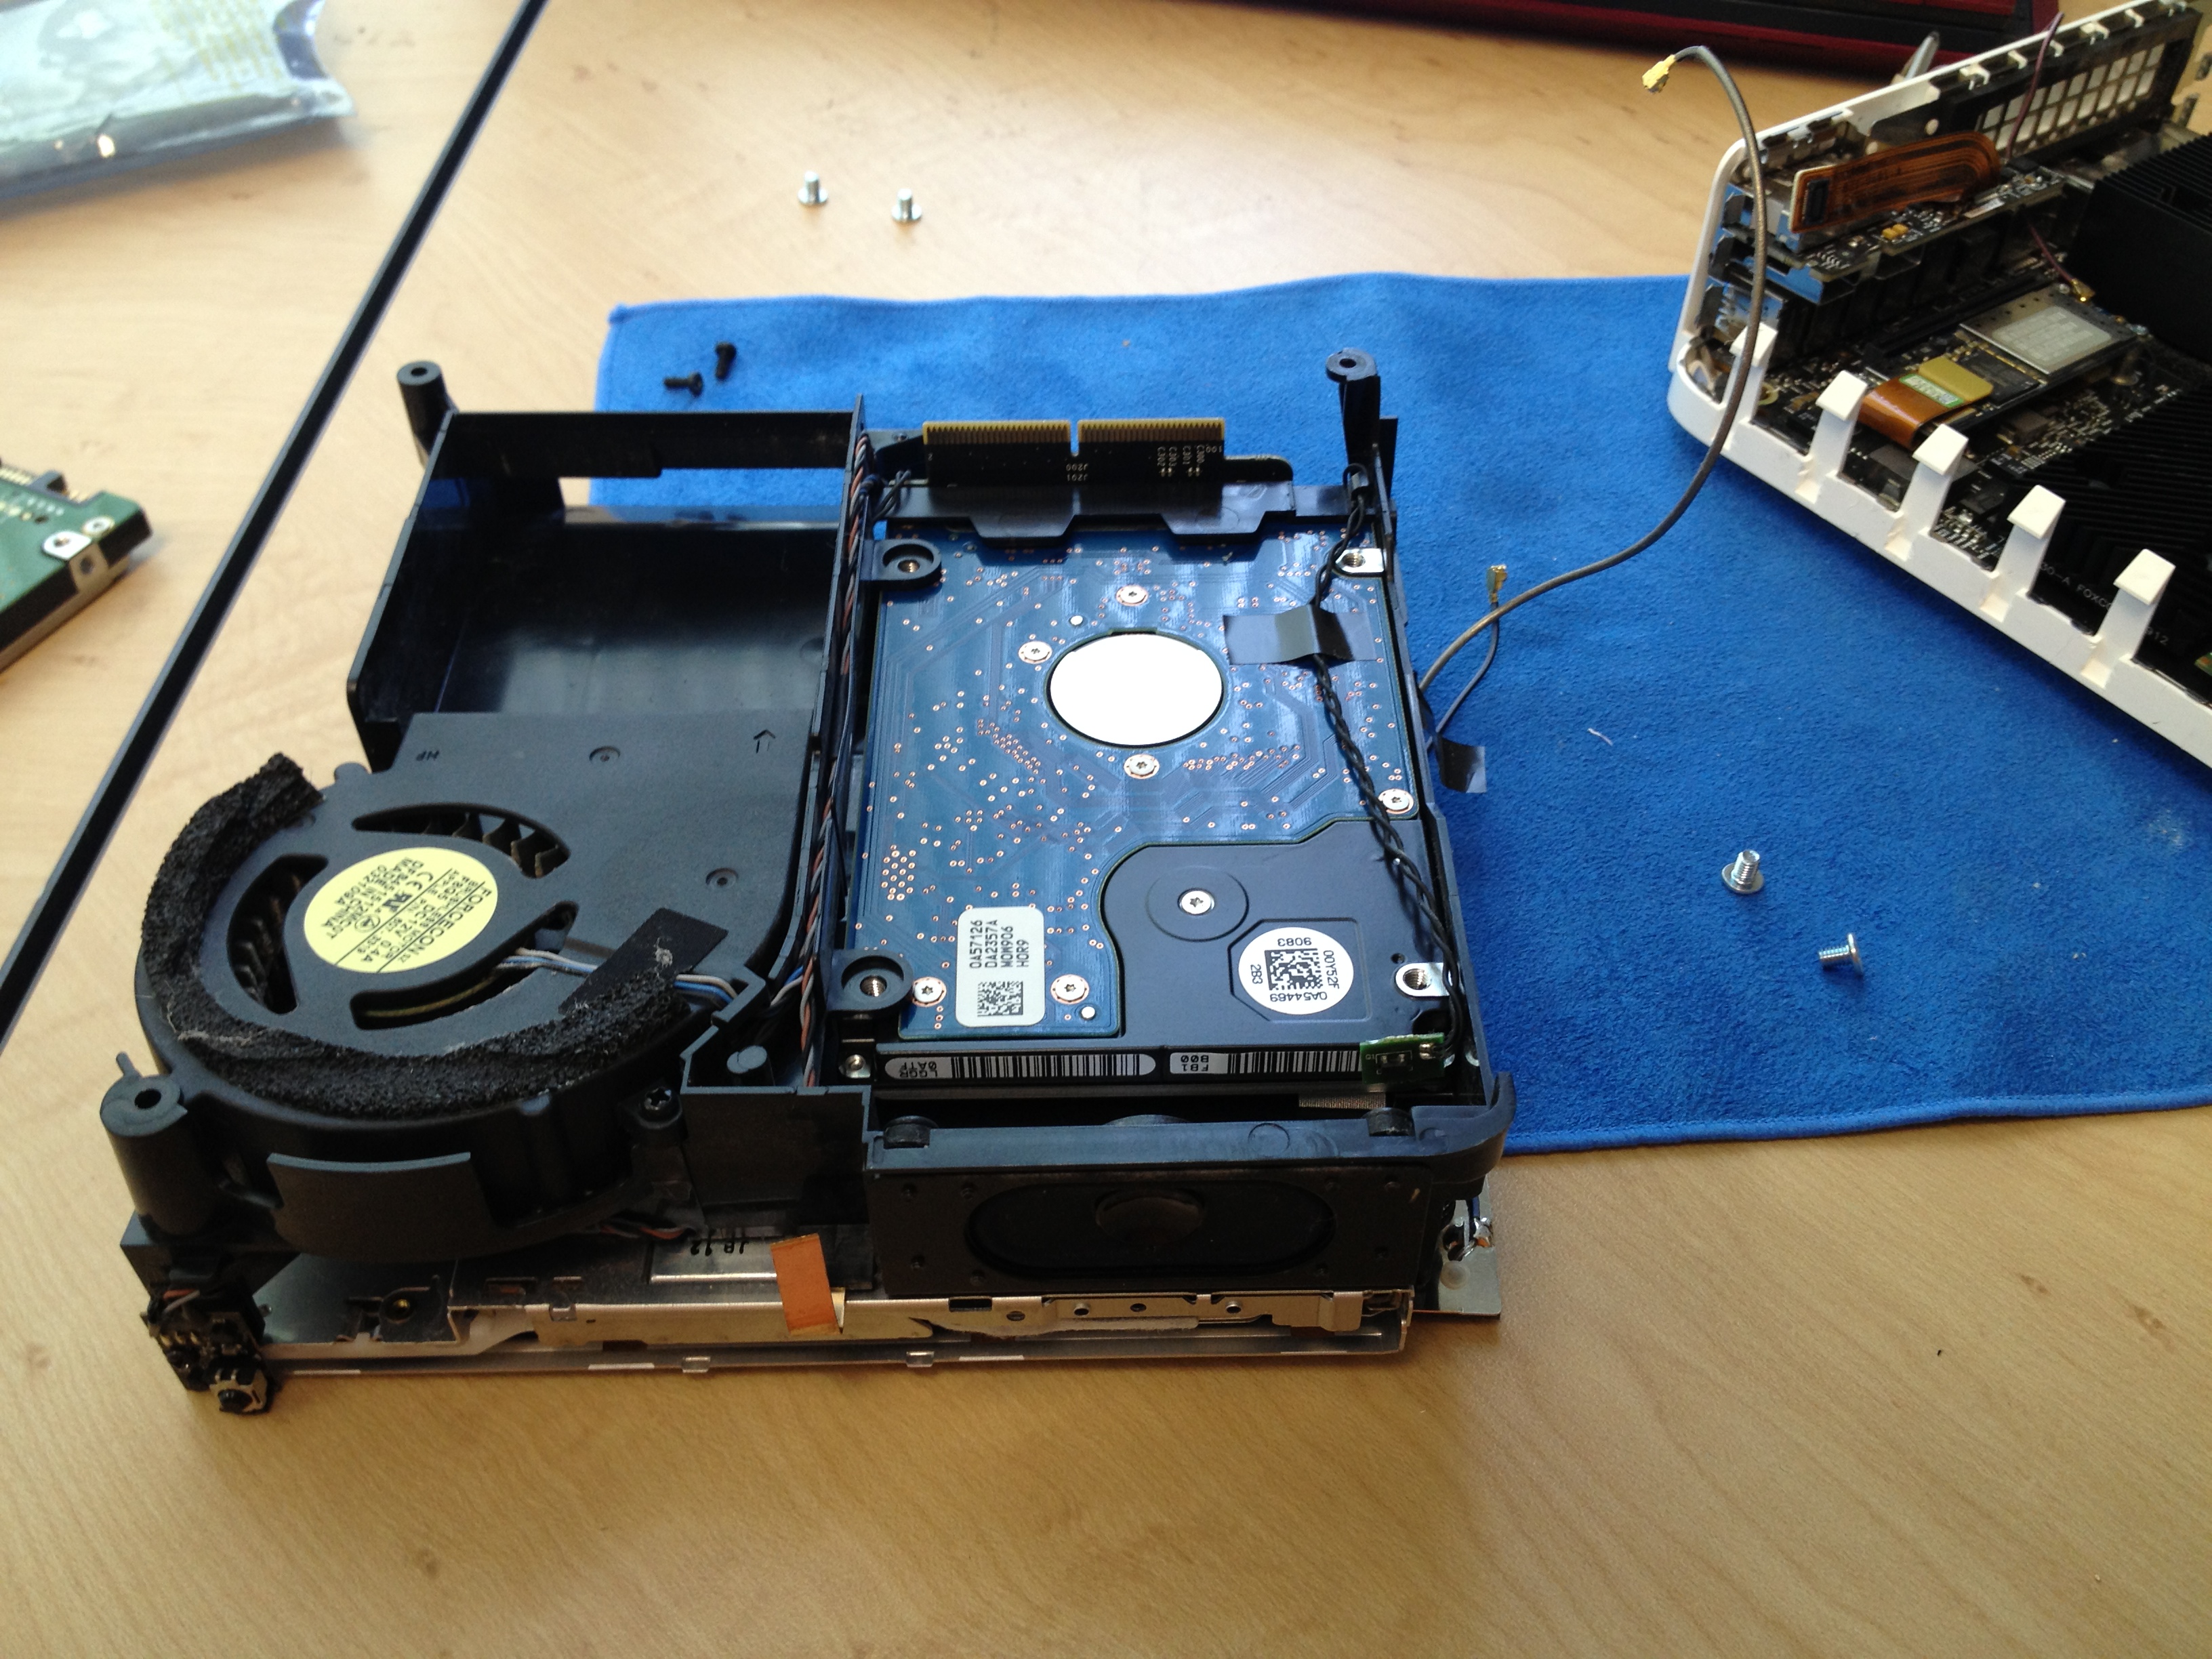
Got the two halves separated.
After that it was pretty straight forward. There are a couple of tricky things to get the SATA cable apart and the drive out but I got it figured out. Putting it back together went pretty quick too.
Now to see if it still worked. I would have been pretty upset if I had just broken my new computer but luckily it powered on and everything seemed ok. Getting the OS installed took me a little while because the disk still had a Windows partition on it. Once I actually read the messages the MacOS installer was reporting, I got it figured out.
So now I have a “refurbished” 2010 MacMini running Snow Leopard. I have more than enough disk space to do some photo and video projects. I am also in the process of moving all of our Audio CDs into iTunes. My goal is to have the Mini work in conjunction with my Synology DS212j Home NAS and stream movies and music to the rest of the house. We’ll see if it works out.
-
- With lid removed.
-
- Got the two halves separated.
-
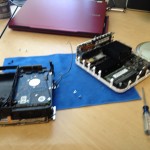
- Finally got the drive out!


